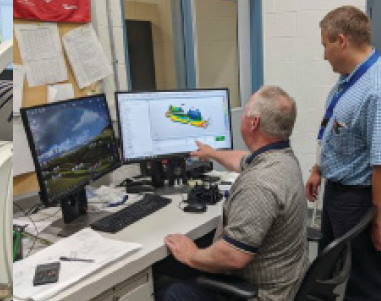
You’ve probably heard that a picture’s worth a thousand words. However, according to George Popov, quality supervisor at Ferriot, a picture’s actually worth a million numbers — at least in the world of custom injection molding part inspection.

Armed with just one piece of inspection equipment (a CMM), Popov was seeing his department become a bottleneck in the inspection process. So Popov and his team selected a new piece of equipment — an Aicon SmartScan scanner with third-party PolyWorks software.
Among the factors that influenced their decision was the scanner’s ability to present inspection data in a colorful, easy-to-grasp format. The PolyWorks software allows users to introduce a color map to the scanned image, showing where and by how much the part being inspected deviates from the CAD model of an ideal part.
The visualization of inspection data is key to connecting with customers. If a customer is struggling with a faulty part, the color maps and virtual inspection tools help illustrate the exact problem at hand. And it can confirm the accuracy of the inspection process and protocols being utilized.
But that doesn’t mean you should get rid of your CMM. In fact, Popov explained that the scanner and CMM work together to provide a more comprehensive inspection process. In addition to visualization, the inspection tools have helped Popov’s metrology lab increase throughput and enhance flexibility.
To learn more details from Popov’s interview with Plastics Machinery Magazine read the full article here.
Learn more:


